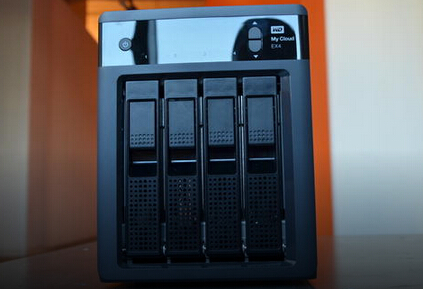
The WD My Cloud EX4 Diskless offers data redundancy, Windows Server integration, and an excellent set of personal cloud features. It makes you stream videos to connected TVs, media players, gaming consoles, and other DLNA/UPnP devices. For those who have large DVD libraries and love to enjoy DVD movies on HD TV but worry about the scratch, ripping and backing up DVD to WD My Cloud EX4 Diskless for HD TV playback is no doubt a good idea. In this way, you can stream your DVD movies on HD TV via WD My Cloud EX4 Diskless without using DVD discs any longer.
Hot Search: Stream Blu-ray via WD My Cloud | Rip Blu-ray to WD Media Server for TV
This is not hard work under the help of DVD Ripper<DVD Ripper Software vs. DVD Copy Software>. Here I strongly recommend Pavtube BDMagic to help you rip and backup DVD to WD My Cloud EX4 Diskless for HD TV playback. It has the enough function that make me love it:
- Remove copy protection from DVD disc
- Shift format to digital version
- Output MP4, MKV, MOV, AVI, etc
- Has optimized preset for LG/Samsung/Sony/Panasonic TV
- Trim & crop DVD video
- Split & merge DVD video
- Adjust A/V codec, bitrate, size.
- Adjust display aspect ratio
- Add subtitle to DVD video
- Batch convert DVD video to WD My Cloud EX4 Diskless
- GPU acceleration
Free download and install:


Other Download:
- Pavtube old official address: http://www.pavtube.cn/dvd_ripper/
- Cnet Download: http://download.cnet.com/Pavtube-DVDAid/3000-7970_4-76158510.html
Steps to Copy DVD to WD My Cloud EX4 Diskless for HD TV Playback
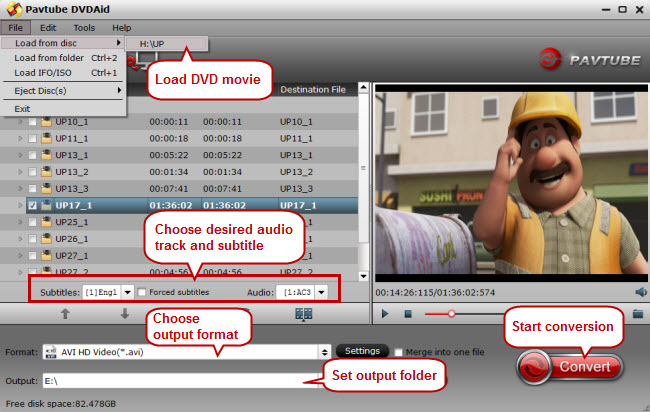
Step 1. Load DVD movies
Insert your DVD disc into a DVD drive, run the program on your computer, on the main interface click "File" > "Load from disc" to import the DVD disc to the program. Please keep in mind that the app supports to convert multiple DVDs to WD My Cloud EX4 Diskless at a time.
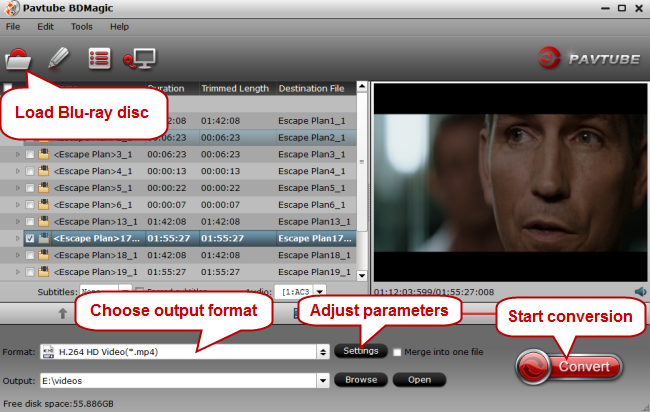
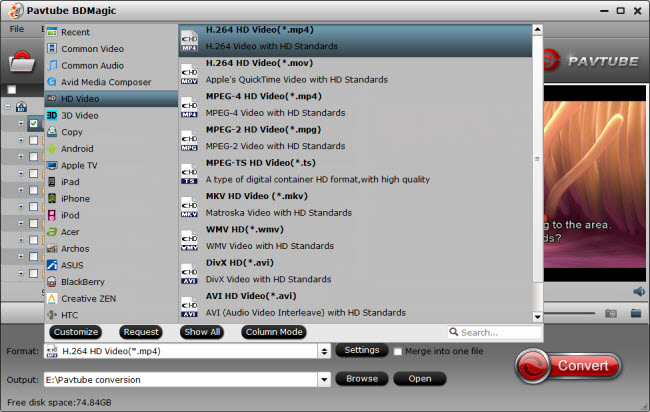
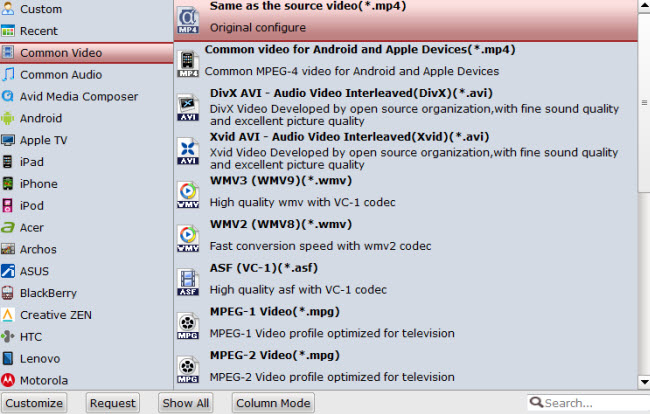
Step 2: Set output format
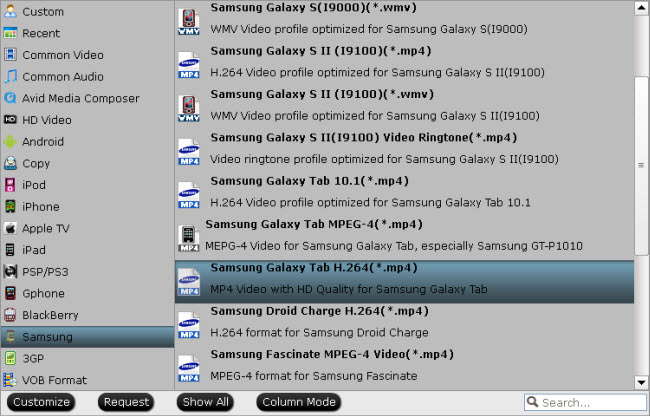
H.264 MP4 format is the most compatible video format for any brand TV. Of course, for better DVD video playback on TV, you can choose the preset in “TVS” profile.

Tips
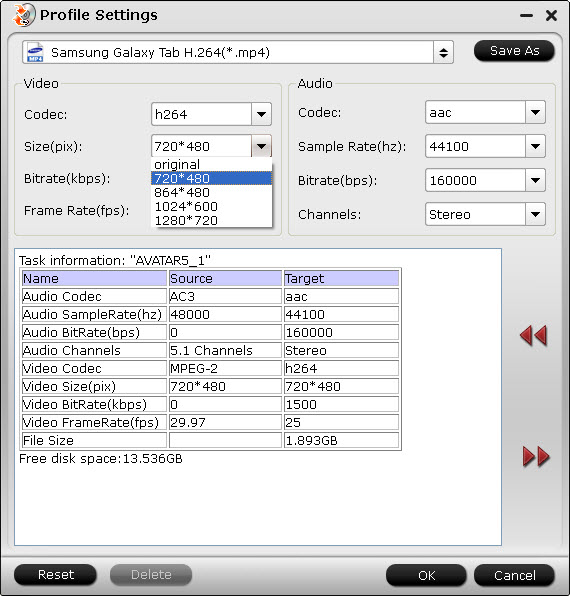
1. Click “Settings” on the interface and you can adjust the parameters including size, bitrate, frame rate, etc. to get a high quality of output files or a smaller files size. You can preview the size at the below chart.
Keep in mind the file size and video quality is based more on bitrate than resolution which means bitrate higher results in big file size, and lower visible quality loss, and vice versa.
2. Open "Video Editor" window and switch to the "Trim" tab, you can drag the slider bars to include the segment you want to remain, click the left square bracket to set start point, and click the right square bracket to set end point when previewing the video or directly input specific values to "Start" and "End" box.

3. Open "Video Editor" window, switch to and click "Crop" tab, click the
 icon on the right-bottom to swtich to the advanced mode, then you can choose the output aspect ratio such as 16:10, 16:9, 5:4, 4:3 and 2:1 from the drop-down list of "Display Aspect Ration".
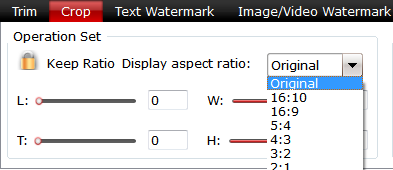
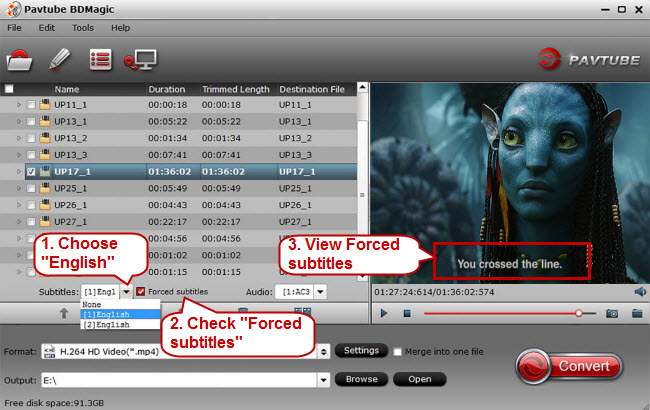
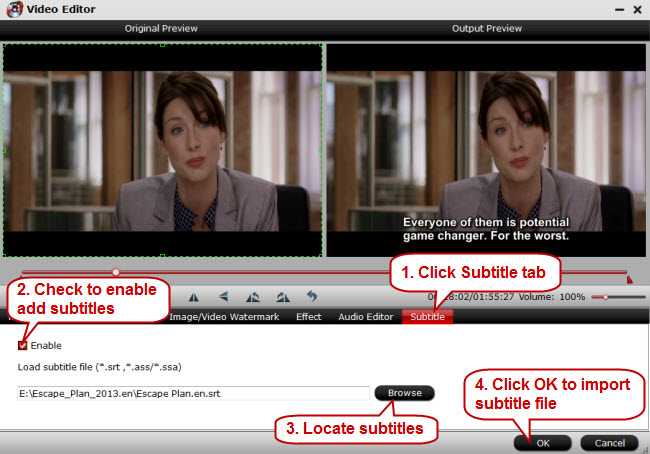
4. Click the "Subtitle" tab in "Video Editor" window, check "Enable", then you will be able to add external SRT/ASS/SSA subtitle files to the video as hard subtitles.(Difference between soft subtitles and hard subtitles)
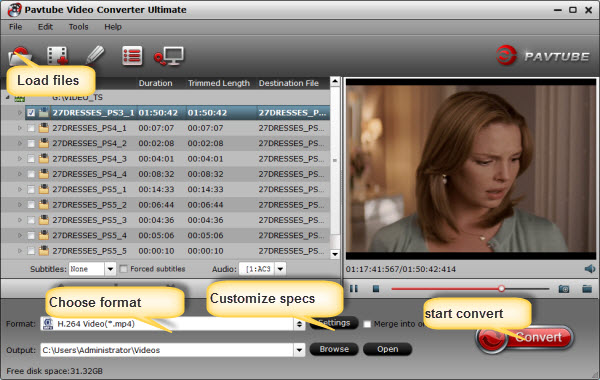
Step 3: Start to convert DVD to WD My Cloud EX4 Diskless for HD TV
Switch back to the main interface, click the big button "Convert" on bottom-right corner to start conversion. When the process is over, you can find the converted files by clicking the "Open output folder" on the main interface of the program.
Now, you can access your ripped DVD movies on HD TV with Plex app via WD My Cloud EX4 Diskless.
Related Articles: