DJI just made another huge splash in the industry with the official announcement of the brand new Zenmuse X7 for the DJI Inspire 2 drone aiming to redefine aerial imaging technology once again. The device is capable of capturing DCI 4K at 30 fps, and UHD 4K at 60 fps in Cinema-DNG format; it also supports DCI and UHD 4K in ProRes and H.265/H.264. For those people who wish to make creative editorial with DJI Zenmuse X7 4K video, Avid Media Composer can be your professional choice. The following article will show you how to get a smooth workflow of Zenmuse X7 4K video with Avid Media Composer.
Can Avid handle all DJI Zenmuse X7 4K video?
From Avid Media Composer supported file formats, we can see this professional editing software only supports to handle the DCI and UHD 4K H.264 video recorded with DJI Zenmuse X7 4K video, however, you will fail to direct import other 4K video including Prores, H.265 and Cinema-DNG format into Avid Media Composer. In addition, as Avid's system requirements for 4K editing at quite high. You should have a dual 10 core Xeon system as an "entry level" 4K editing suite and ideally a faster computer for more 4K editing. It would be much ideal for you to compress 4K to 1080p for smooth editing.
Transcode DJI Zenmse X7 4K for Avid Media Composer
To fix the codec incompatible issue, you can download a third-party video conversion app called Pavtube Video Converter for Mac to decode the unsupported 4K codec including H.265/Prores/Cinema-DNG to Avid Media Composer most favorable 1080p DNxHD codec. The program supports batch conversion mode, so that you can load multiple DJI Zenmuse X7 4K video into the application for conversion at one time.
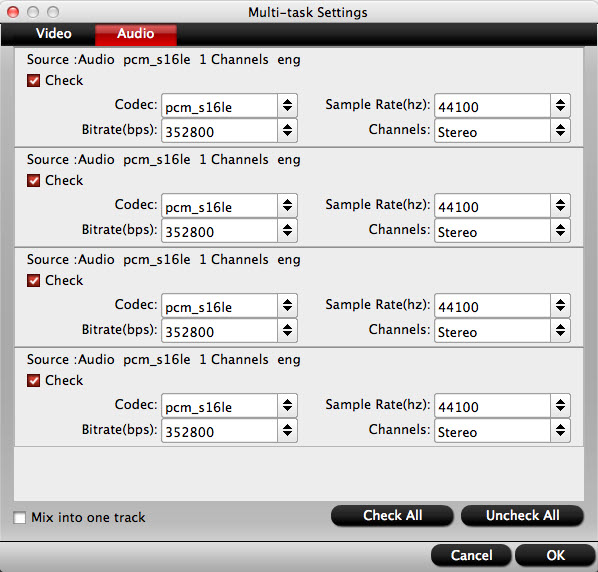
Besides that, you can also flexibly adjust output profile parameters such as video codec, resolution, bit rate, frame rate, audio codec, bit rate, sample rate, channels, etc as you like to get better output video and audio quality.
For Windows users, please switch to download Pavtube Video Converter to complete the conversion on Windows 10/8.1/8/7.


How to Transcode and Compress Zenmuse X7 4K to 1080P DNxHD for Avid?
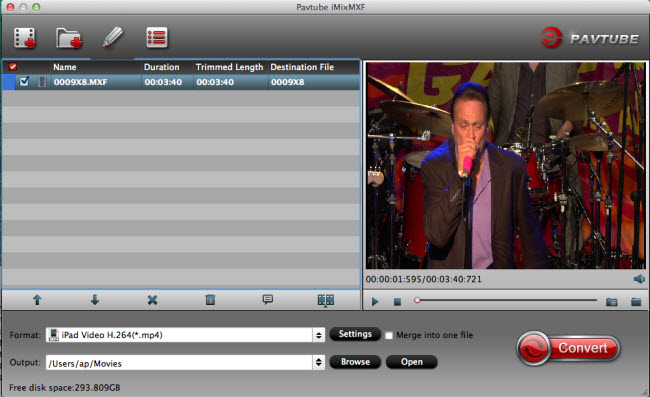
Step 1: Import DJI Zenmuse X7 4K videos.
From "File" drop-down option, select "add Video/Audio"to add DJI Zenmuse X7 4K Prores/H.264/H.265/Cinema-DNG 4K files into the program.

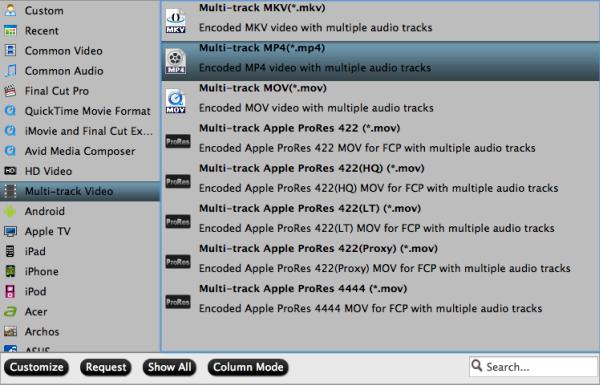
Step 2: Choose output file format.
From "Format" drop-down option, choose Avid Media Composer best editing codec by selecting "Avid Media Composer..." > "Avid DNxHD(*.mov)".

Step 3: Start the conversion process.
After all the settings is over, go back to the main interface and hit right-bottom "Convert" button to start to convert Zenmuse X7 4K video to Avid Media Composer best compatible 1080p DNxHD Codec editing format.
When the conversion is completed, launch Avid Media Composer on your Mac computer to import converted video to Avid Media Composer for smooth editing workflow on either fast or slow computer.
Related Articles
Any Product-related questions?support@pavtube.com