Is Synology DS216play a good choice for 4K streaming via Plex?
"Hello! I'm a long time user of Plex with Synology NAS. But recently I upgraded my TV and now I own a 4k model. The problem is that my current Synology NAS is not powerful enough to play 4k content (Synology DS213). So I want to upgrade to a new version that will be powerful enough to stream 4k content. I appreciate if you could confirm if DS216play is the right choice. Synology website claims it is, but I'd like to confirm with you plex users."
Testing for DS216play 4K transcoding capability
DS216play is the least-expensive NAS box available featuring hardware-assisted 4K h.264/h.265 transcoding that we know of. Test from techhive shows that they have loaded the DS216+ with numerous test files, including about a dozen 2160p (UHD 3840x2160 and 4K 4096x2160) videos. They played files using Synology's in-browser Video Station player. 2160p videos (AVC and HEVC) played well also, at least those limited to about 30 frames per second and around 6 megabits per second (HEVC) or 20Mbps (AVC). AVC is a lot easier to process than the more heavily compressed HEVC. Beyond that, both audio and video stutter began to creep in; 60fps files weren't recognized.
From above tests, we can see that the Synology DS216play lacks the ability to handle 4K 60fps files, therefore, when you try to stream the 4K/60p files from Synology to Plex, the Plex Media Server will try to perform a transcoding process due to the incompatible frame rate. However, transcoding 4K content can be a CPU-intensive process and and especially NAS devices might not be capable of doing so in real-time.
Transcode 4K video for Synology DS216play streaming via Plex
To get a smooth streaming experience, then it is ideal for you to use a third-party video conversion app such as Pavtube Video Converter Ultimate to transcode 4K video with incompatible frame rate to Synology Plex app smooth handle 30fps.
Besides the frame rate, you can also flexibly adjust other profile parameters such as video codec, bit rate, frame rate, resolution, audio codec, bit rate, sample rate, channels, etc according to your own needs.
For Mac users, please switch to download Pavtube iMedia Converter for Mac to perfrom the conversion on macOS High Sierra, macOS Sierra, Mac OS X El Capitan, Mac OS X Yosemite, Mac OS X Mavericks, etc.


Get Pavtube Video Converter Ultimate with 20% off discount, coupon codec: 45K2D47GJH |
Step by Step to Transcode 4K for Synology DS216play Streaming
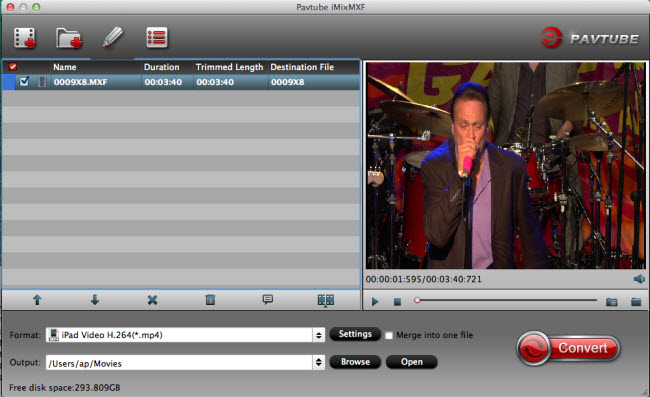
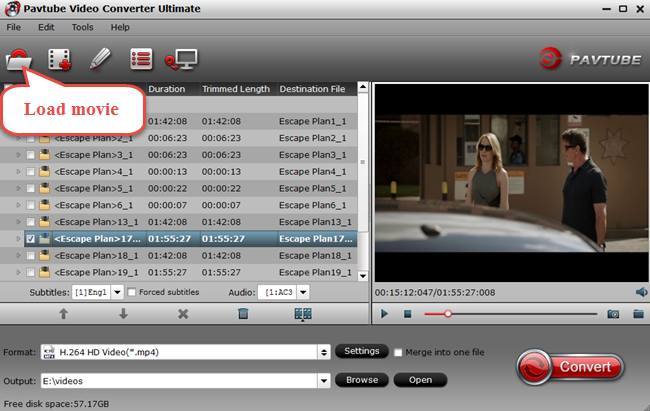
Step 1: Load 4K video into the application.
Download the free trial version of the program. Launch it on your computer. Click "File" menu and select "Add Video/Audio" or click the "Add Video" button on the top tool bar to import source 4K video files into the program.

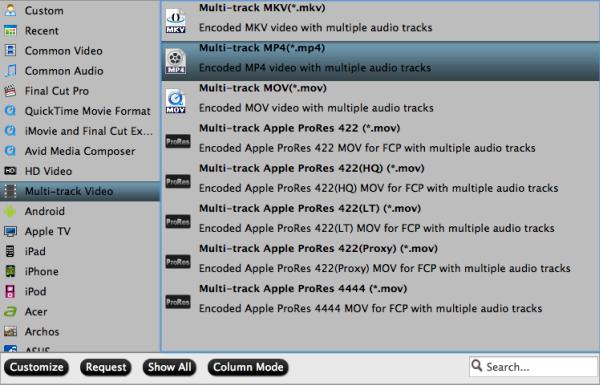
Step 2: Define the output format.
Clicking the Format bar, from its drop-down list, select Synology DS216play playable 4K H.264 or 4K H.265 file formats.
Output 4K H.264 file formats

Output 4K H.265

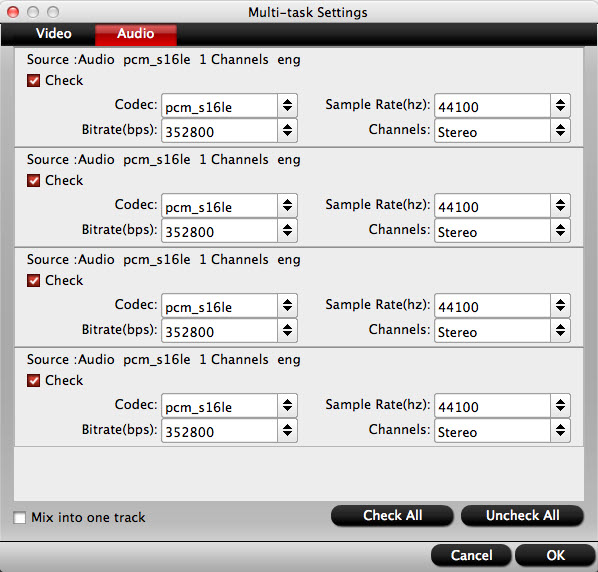
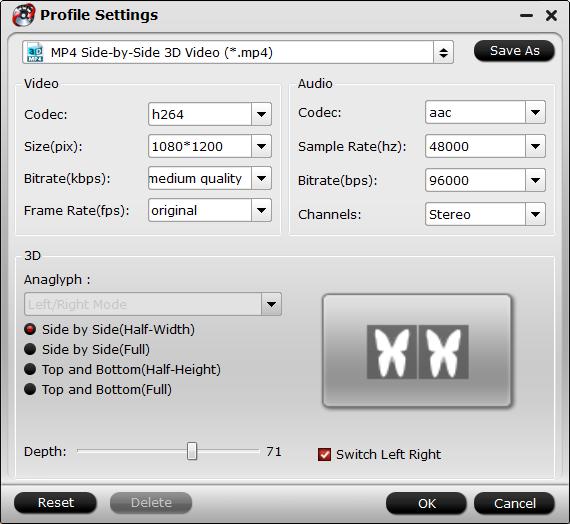
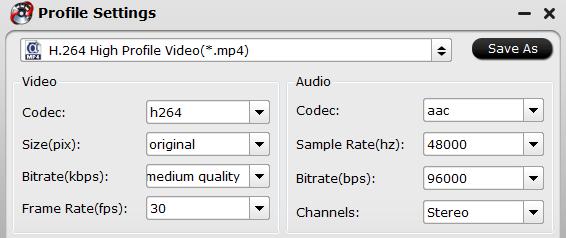
Step 3: Adjust output frame rate.
Click "Settings" on the main interface to open "Profile Settings" window, in video section, from "Size(pix)" drop-down list, choose Synology DS216play smooth playback 30fps.
Step 4: Begin the conversion process.
After all setting is completed, hit the "Convert" button at the right bottom of the main interface to begin the conversion process from 4K video to Synology DS216play smoothly playback 4K video with 30fps frame rate.
When the conversion is finished, click "Open Output Folder" icon on the main interface to open the folder with generated files.
Related Articles
Any Product-related questions?support@pavtube.com